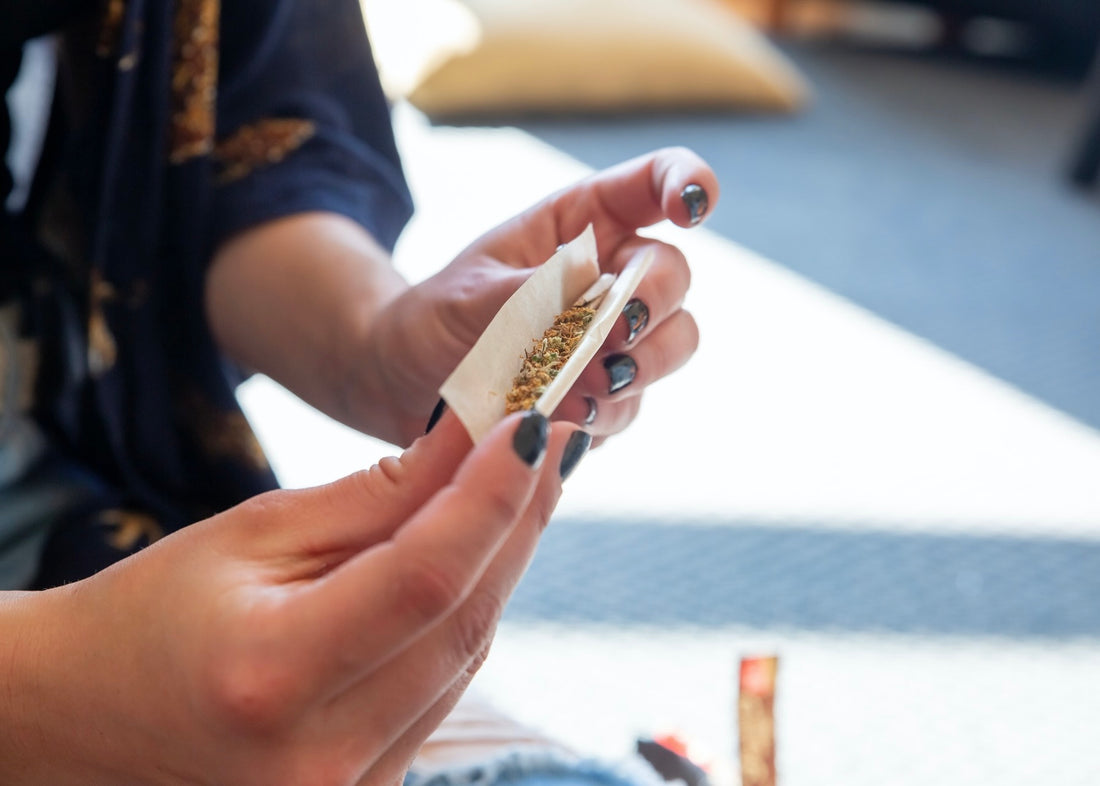
Although we are a cannabis accessories company that prides itself on making pipes, we know a thing or two about rolling up a nice doobie! As a classic means of smoking cannabis, joints have been enjoyed by cannabis consumers for decades due to their lightweight and spontaneous nature. Don’t have a bong or a vape? No worries! Find some paper and filters, and you can indulge in a relaxing smoke. What’s not to love about that? Read on for our tips on how to roll a joint.
Step 1: Choose Your Paper and Filters
We’re not joking when we say the first tip to rolling a successful joint is using the right paper. If the paper is too thin, too old, or has low-quality adhesive, you’ll not only be stressed while rolling, but also your end product will likely leave something to be desired. While finding the right paper, you can also peruse the filters available. Much like rolling papers, there are plenty of types out there that allow you to customize your filtration level. Some cannabis consumers prefer a full-bodied smoke, making paper tips ideal; however, others desire a smoother smoke with less debris, meaning a proper filter would be preferable.
Step 2: Prepare the Flower
Selecting the right gear to roll up doesn’t end at papers and filters, it includes grinders, too! A stellar grinder will finely cut your flower, collect your kief, and save you the headache of hand-cutting or picking your herb. Obtaining the optimal fineness for your leaf is another important factor for rolling the perfect joint. When filling your grinder, you want to ensure there are no stems in the nugs you place inside of it. Then, grind up the flower, rotating around 8-10 times to ensure it is crumbly and will burn evenly.
Step 3: Get Rolling
With your paper, filter, and ground-up flower ready, you are set to get rolling. To save any fly-away weed, use a rolling tray or a plate. First, grab your filter or tip and measure it alongside your paper. A pro-tip for paper tips is to ensure you include some accordion folds to keep it from unfurling. Then, place the ground leaf on the tray and begin to fill your paper. Remember to leave enough room for your tip or filter at the end. After that, it’s time to pinch the tops of the paper and roll your fingers up and down for that tight, cylindrical shape. Focus on keeping the paper tight by the filter, and the rest of the joint will follow suit. Finally, lick the remaining paper with the adhesive and seal the doob, before you twist the top to keep it all in place.

